The second Hansel and Gretel prop I made for Halloween this year were giant cotton candy inspired by this pin. It doesn’t look like that blog is available anymore, but making these is actually pretty easy, as long as you don’t mind hot glue gun burns.

Materials:
Wood dowels (to stake the cotton candy in the ground)
Plastic Poster Board (plastic to be weather proof outside)
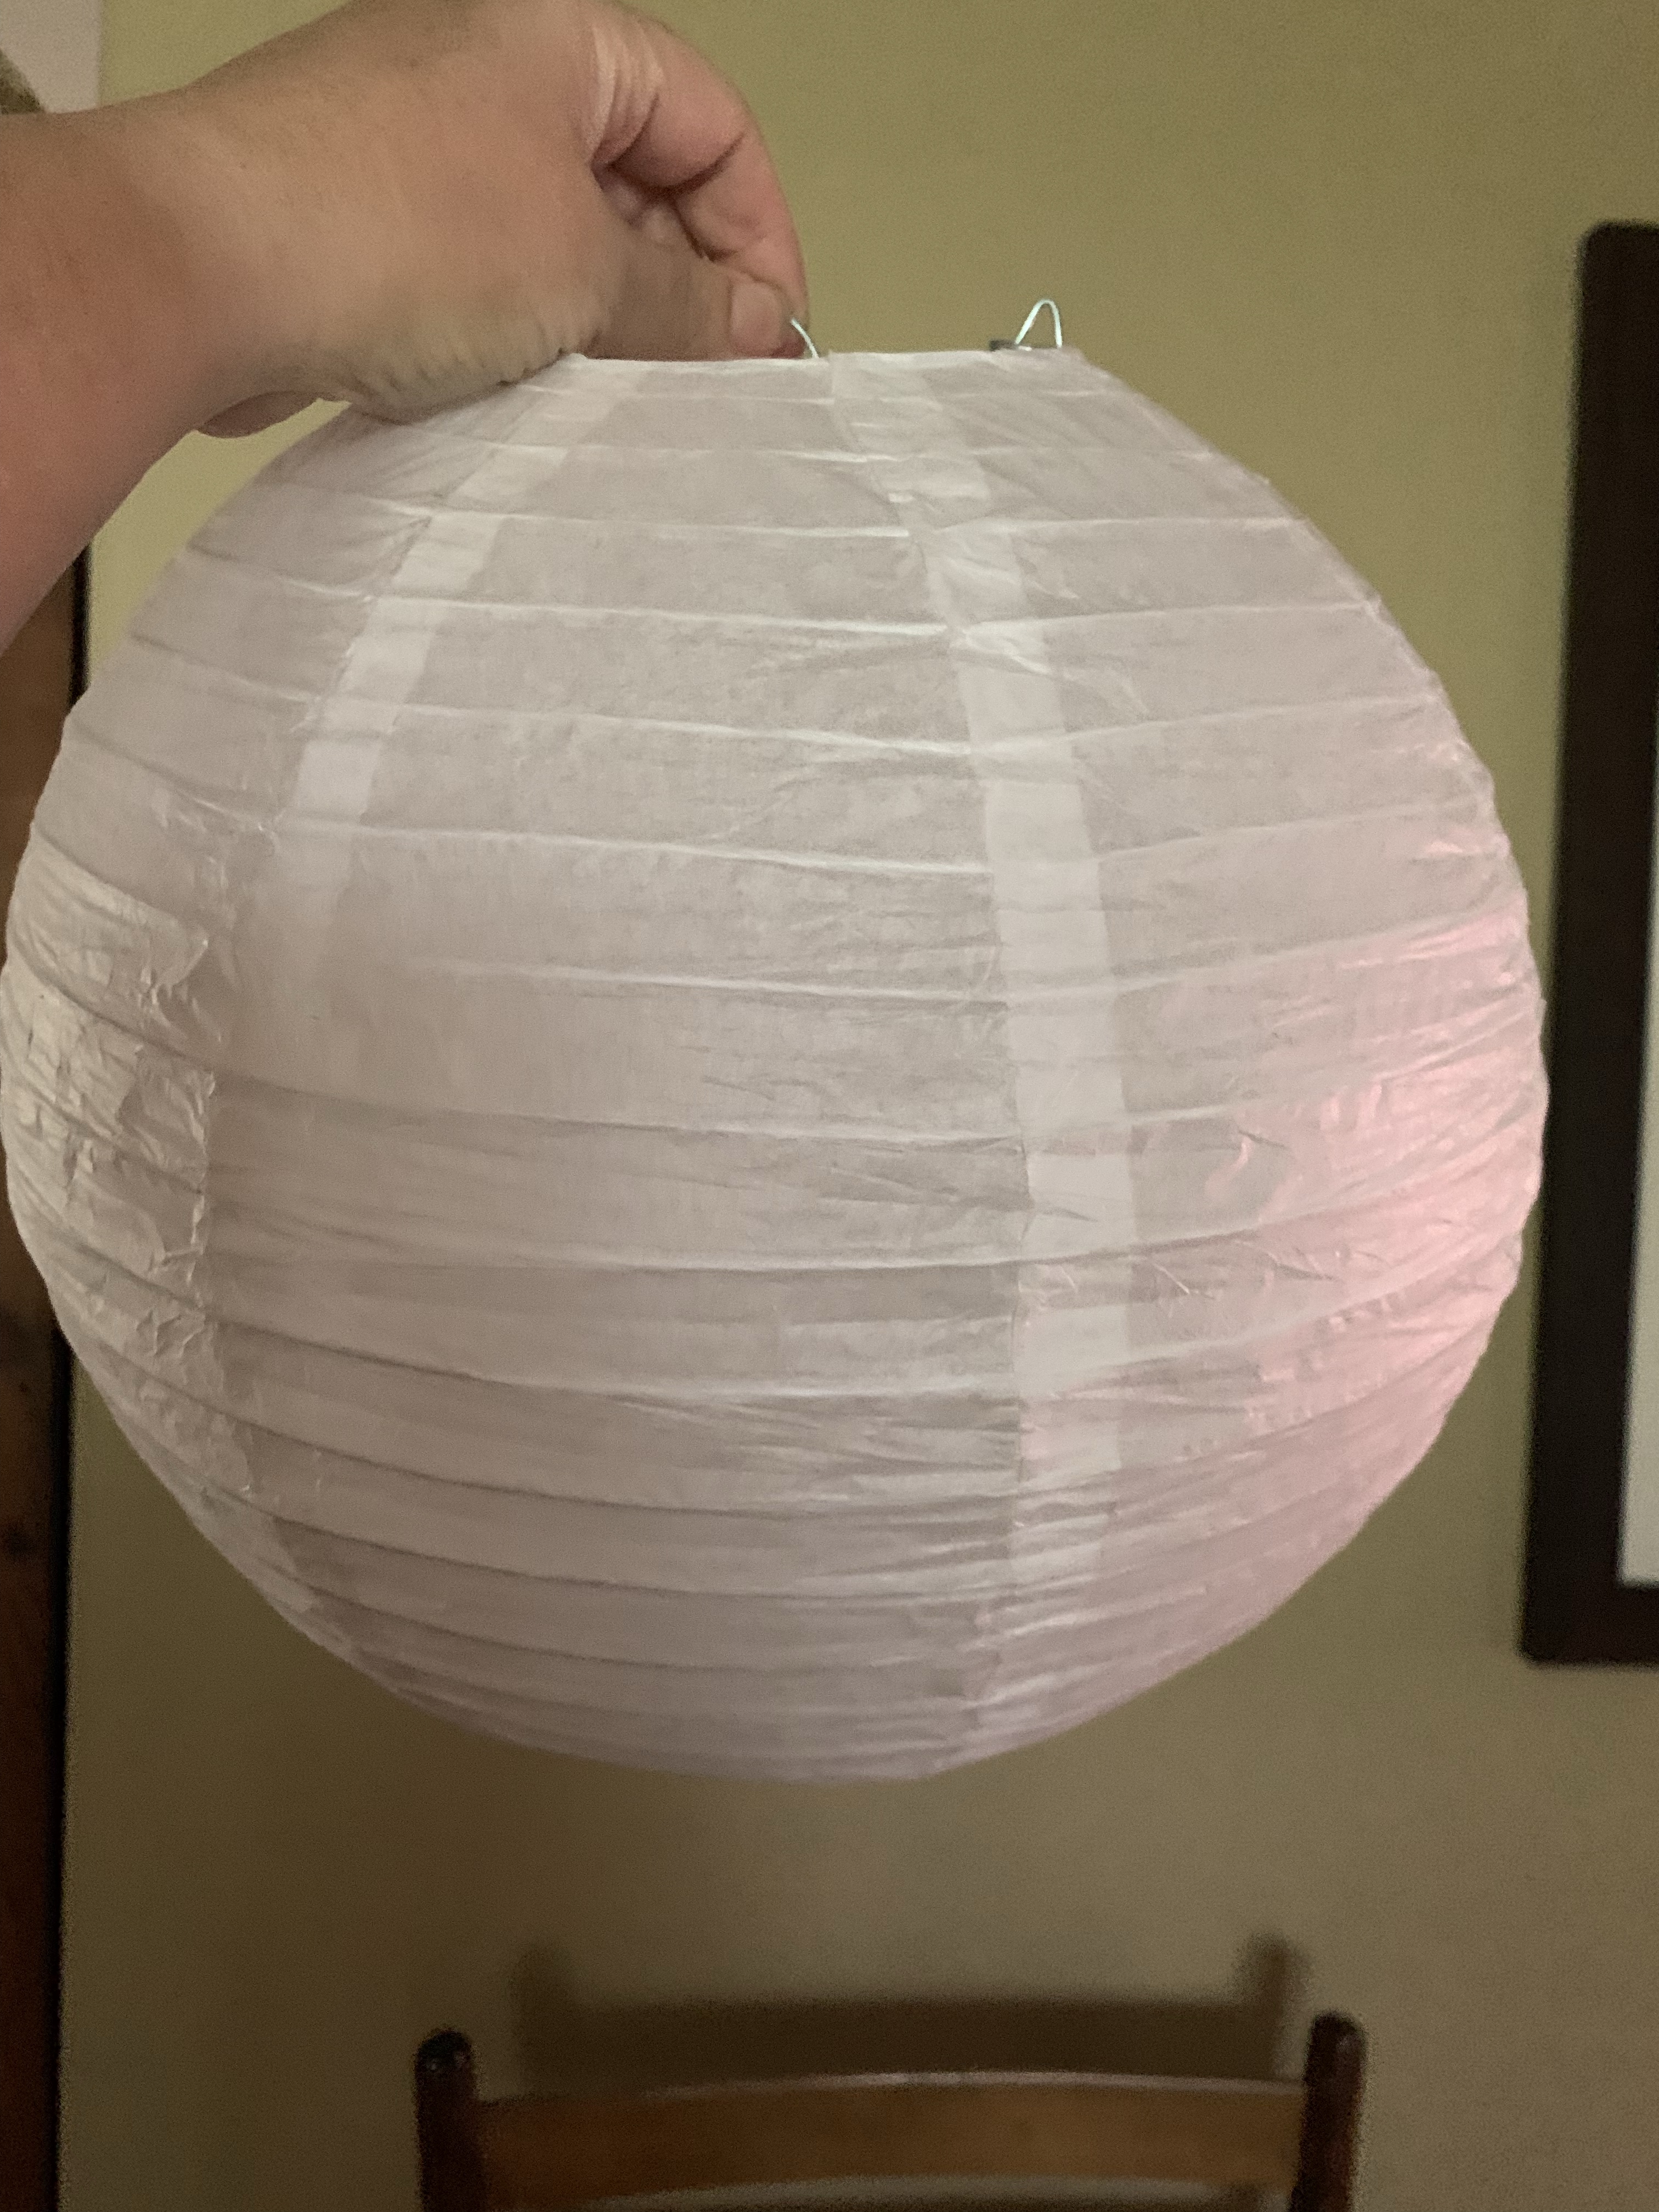
Chinese Paper Lanterns (not the wishing lanterns, the round decorative lanterns)
Poly-fil
Hot Glue
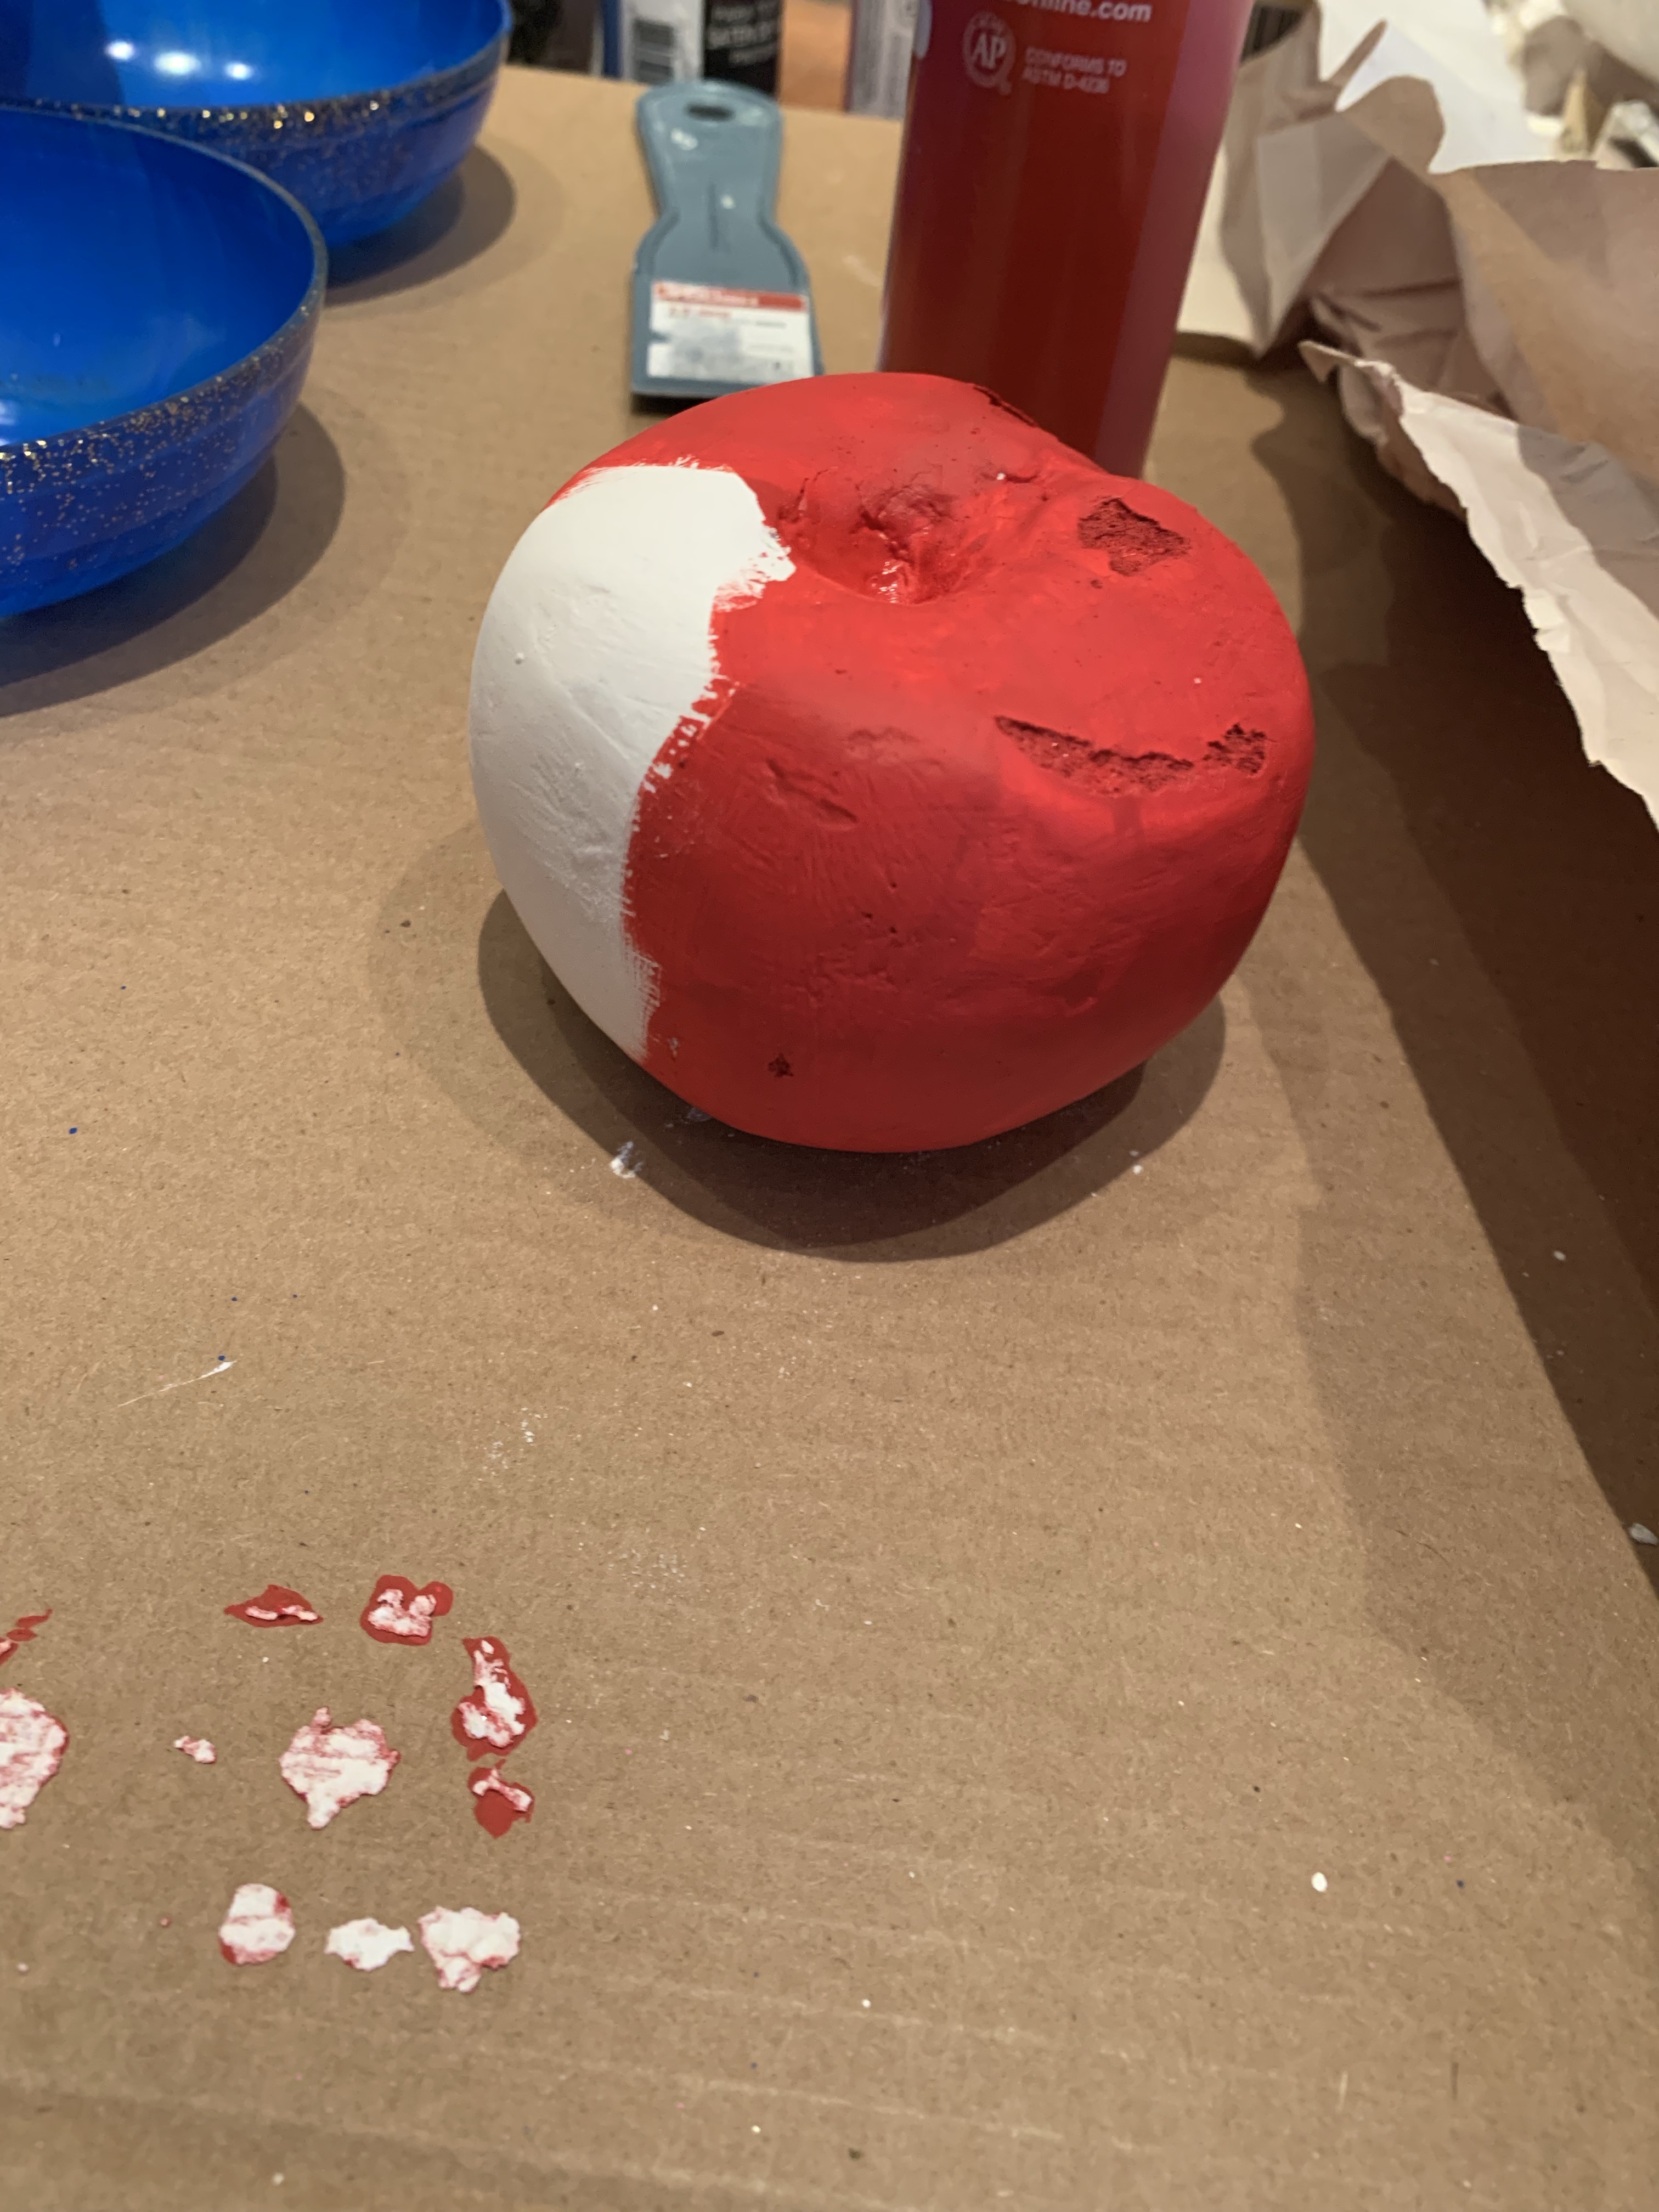
Spray Paint
Large Gift Basket Bag (Optional)
Bow (Optional)
To start, roll the poster board into a cotton candy cone shape. There are some You tune videos out there if you need help. I tried to make sure there was a large enough hole in the cone that my wood dowel would fit into. Tape the cone down and slide the wood dowel into the cone. Then I taped the cone onto the wood dowel.

Next put together the Chinese paper lantern. I slide the dowel and cone into the lantern from the top and then hooked the lantern onto the top of the cone.
Now you will take pieces of the Poly-fil and glue them onto the lantern using the hot glue gun. If you really want to make a nice cotton candy, I think some wool roving would really look like cotton candy, but since I was making several of these, that was a bit expensive to try. It will take a lot of gluing and a lot of hot glue to make each cotton candy, I even went and bought a larger gun that uses larger sticks to make it faster to make.

Once all the Poly-fil is on the lantern, just spray paint the color you want. I did pink and blue.
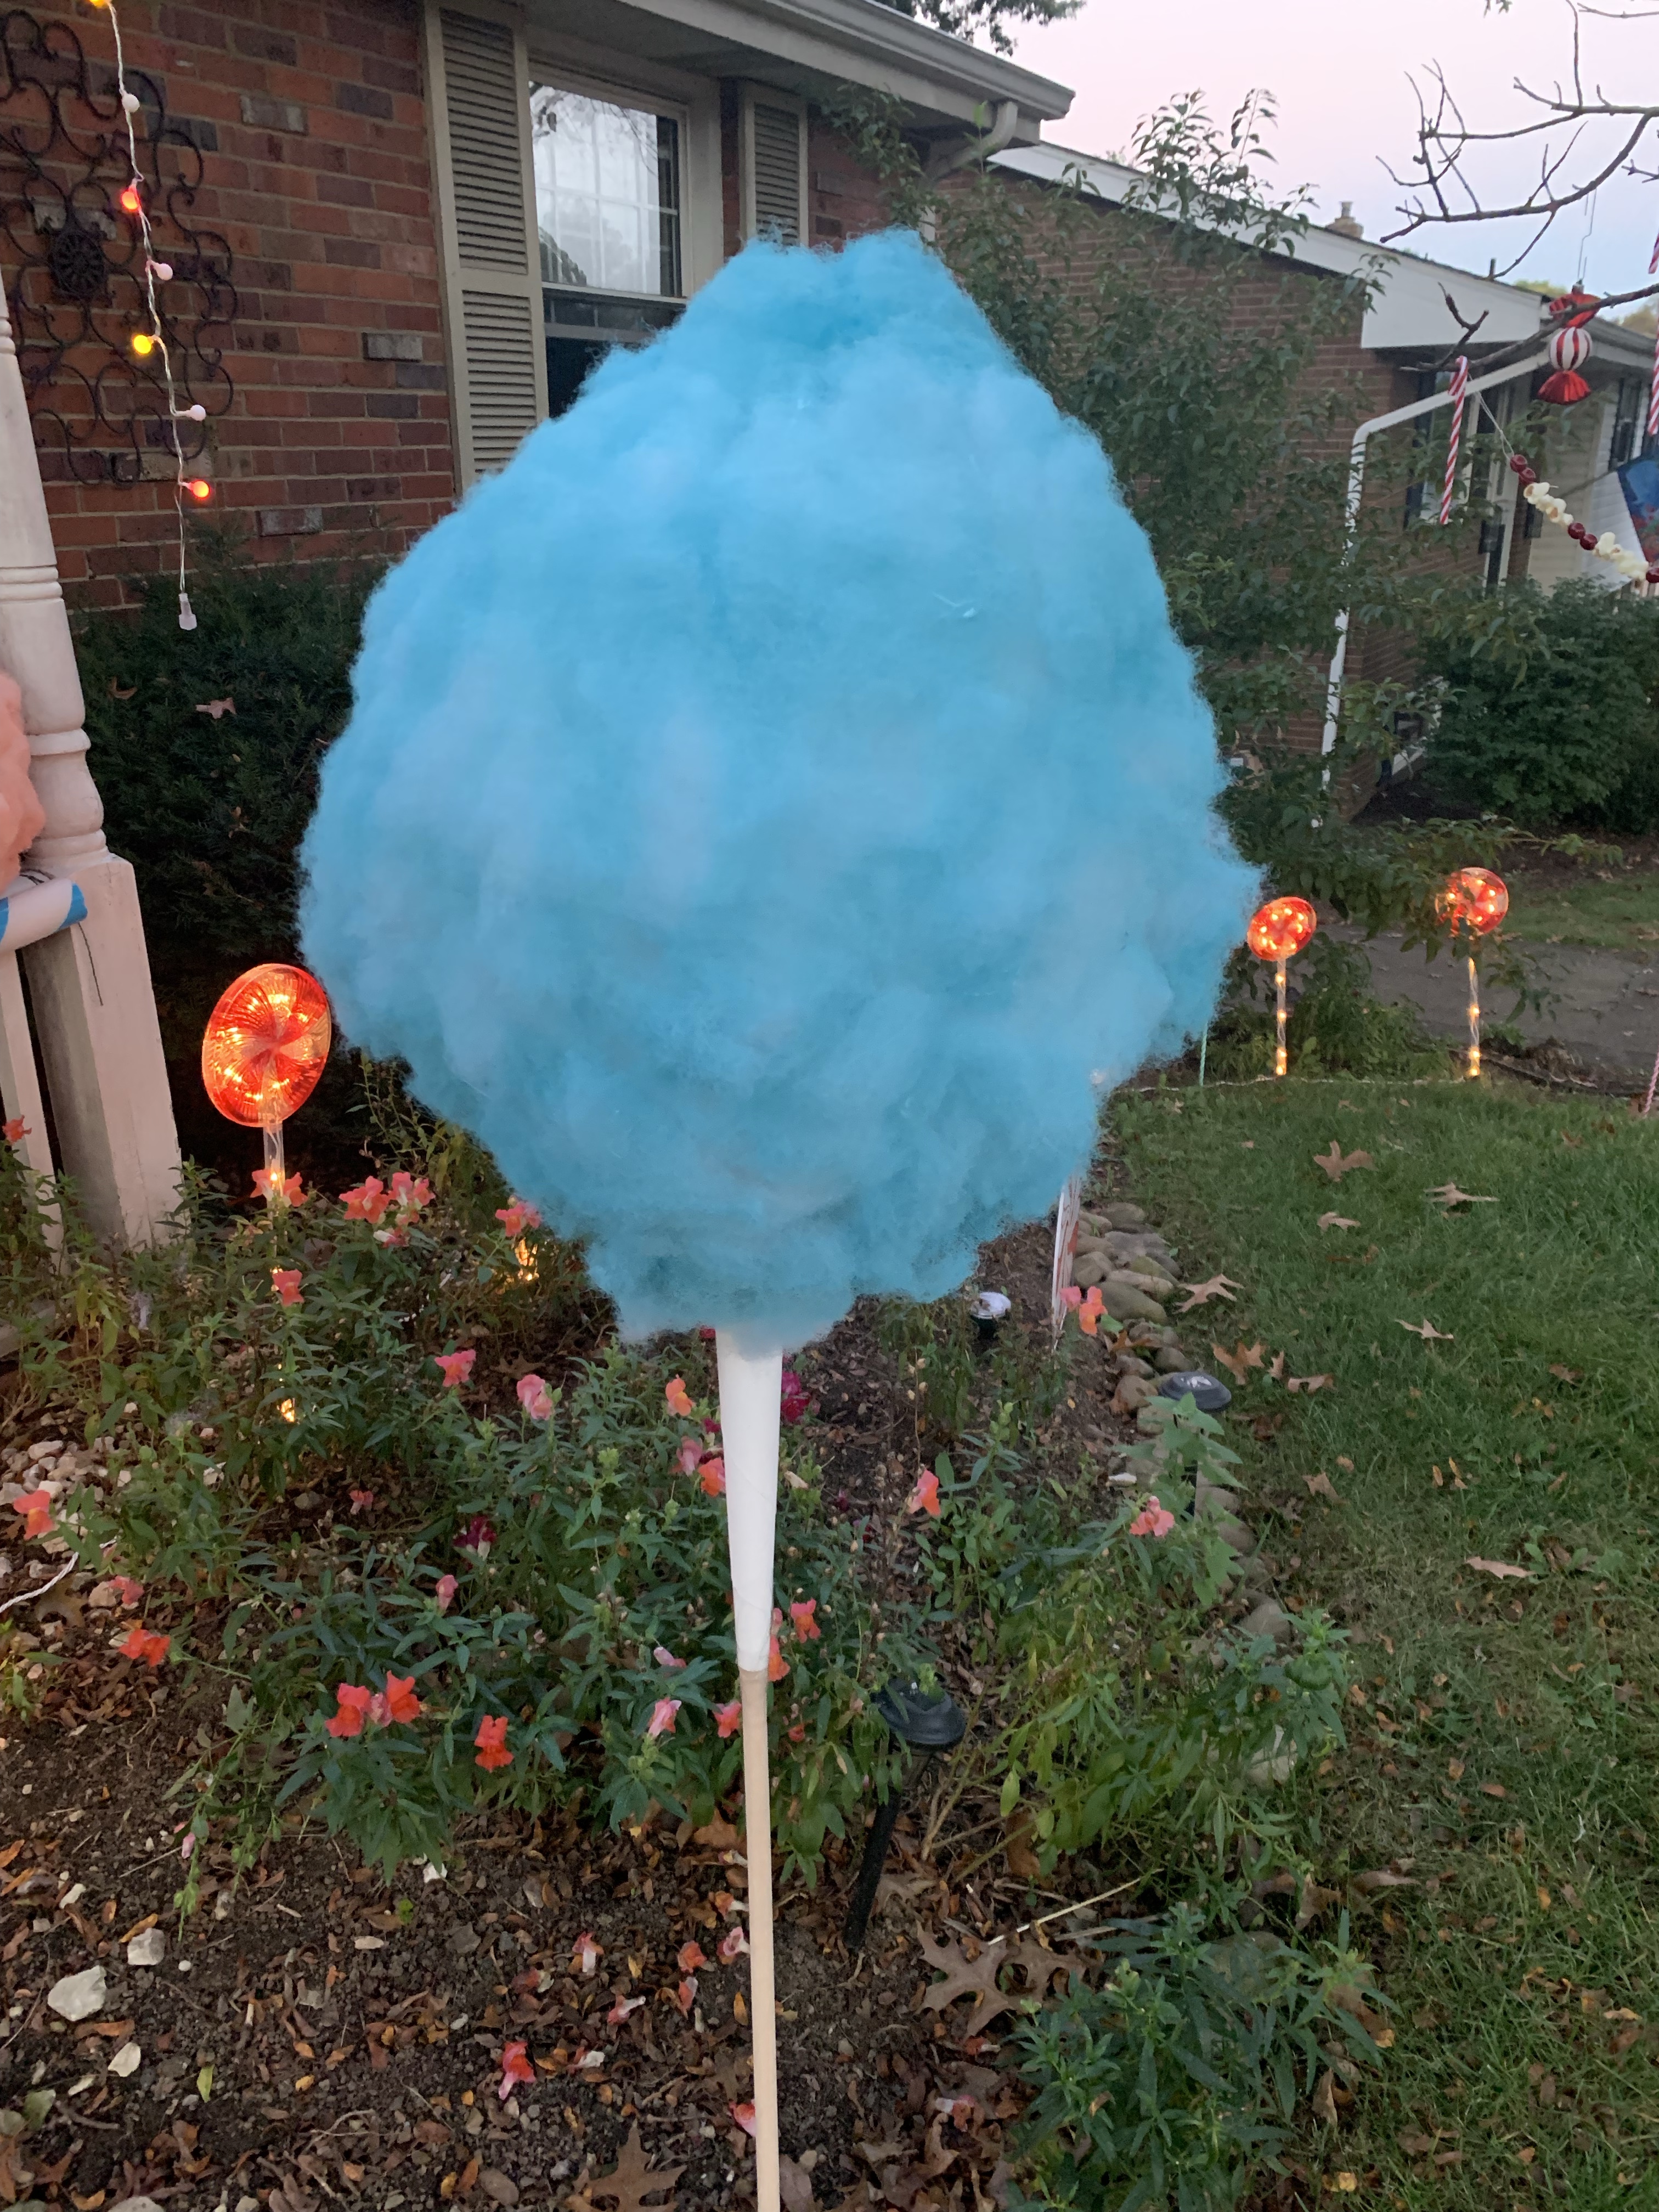

To finish it off, use a large gift basket bag and bow (optional). I have bags on all of them to protect them from the weather, but they don’t all have bows, only a few came with the gift bags.


You must be logged in to post a comment.