Sophie’s Universe

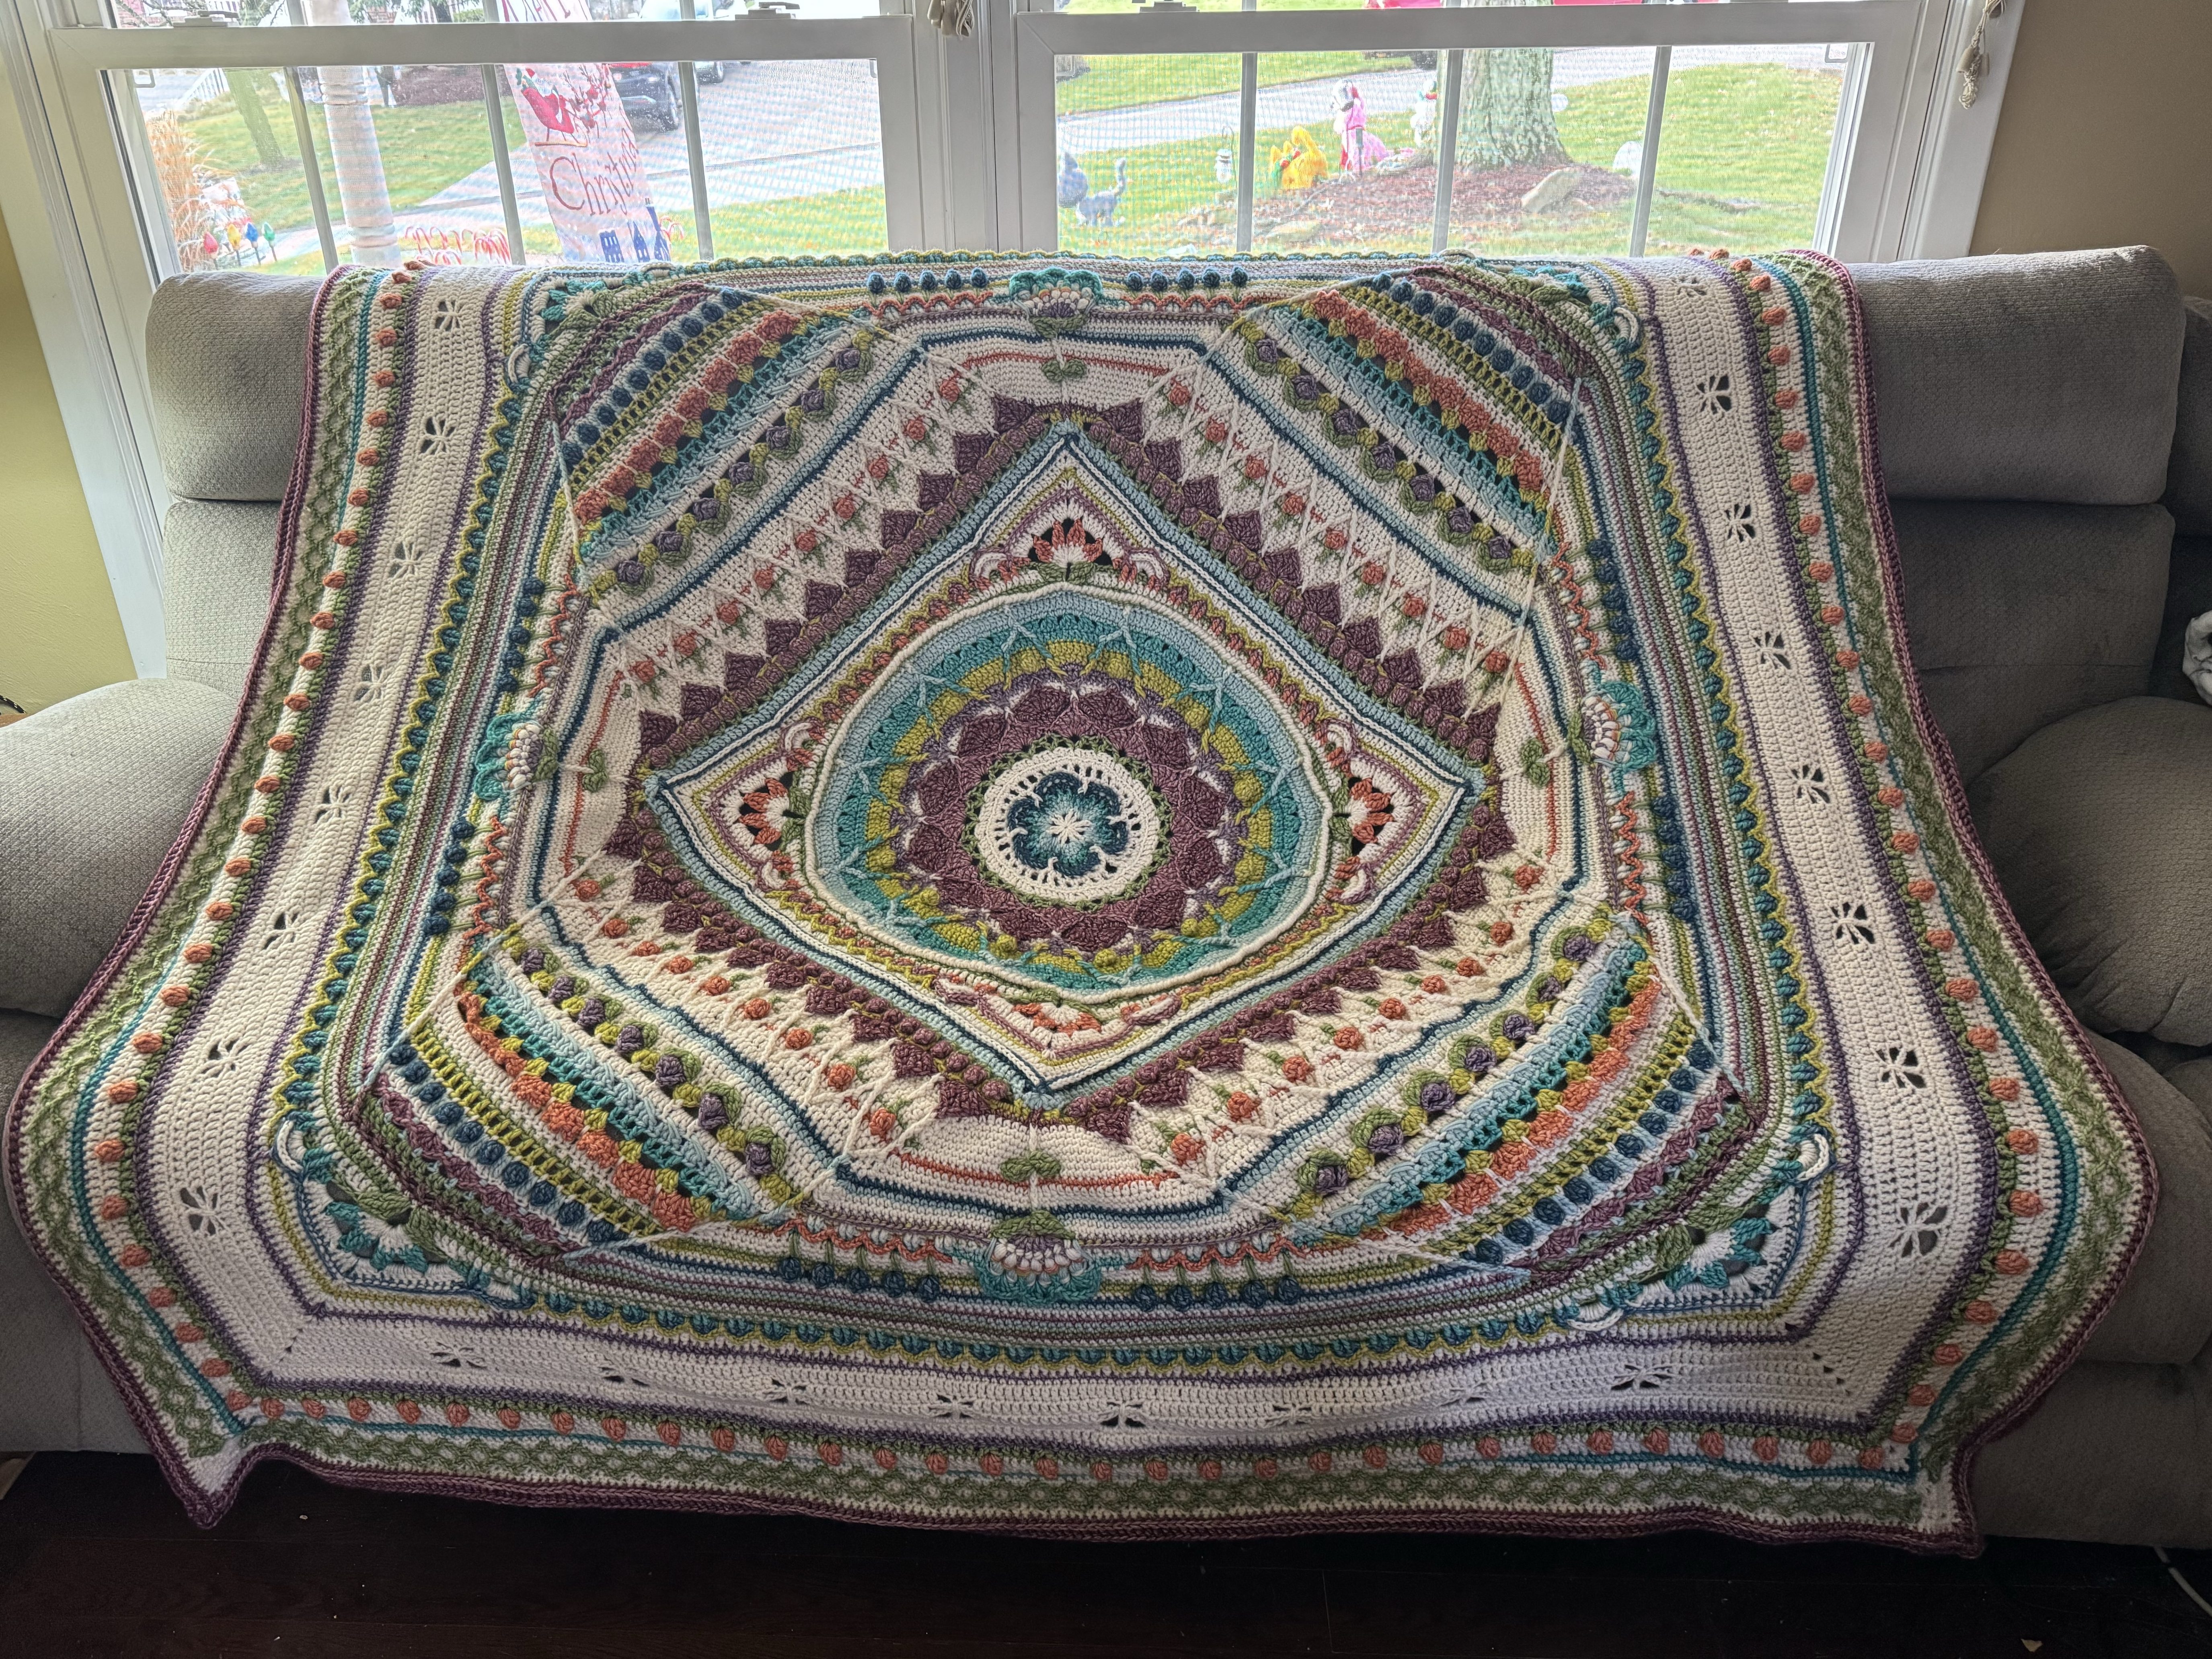
Last year for Christmas I asked for the Sophie’s Universe book, by Dedri Strydom Uys, on my wish list and Mom got it for me. At the time I just wanted to make this blanket, I didn’t really have anything in particular to make it for. Fast forward a few months and I found out that a long time friend was getting married! So I decided to make this for her as a wedding gift.

I was already making a large scale project, Jean Jacket. So I tried to speed that up so I cold start working on Sophie. I ordered a yarn kit from Jimmy Bean’s Wool. However, I usually have a very tight gauge, but for whatever reason, I flew through this yarn. I ended up having to buy more yarn, twice! I suggest buying at least a few extra skeins per color, so you can get them in the same colorway. Note: This blanket is not cheap to make. The original yarn was about $350, then with all the extra yarn I ended up buying it probably ended up close to $450 in yarn. I used the Scheepjes Stone Washed XL colorway. Also, note the XL, because the second time I tried to order more yarn I ordered Scheepjes Stone Washed, which is not the same weight. Lessons learned.

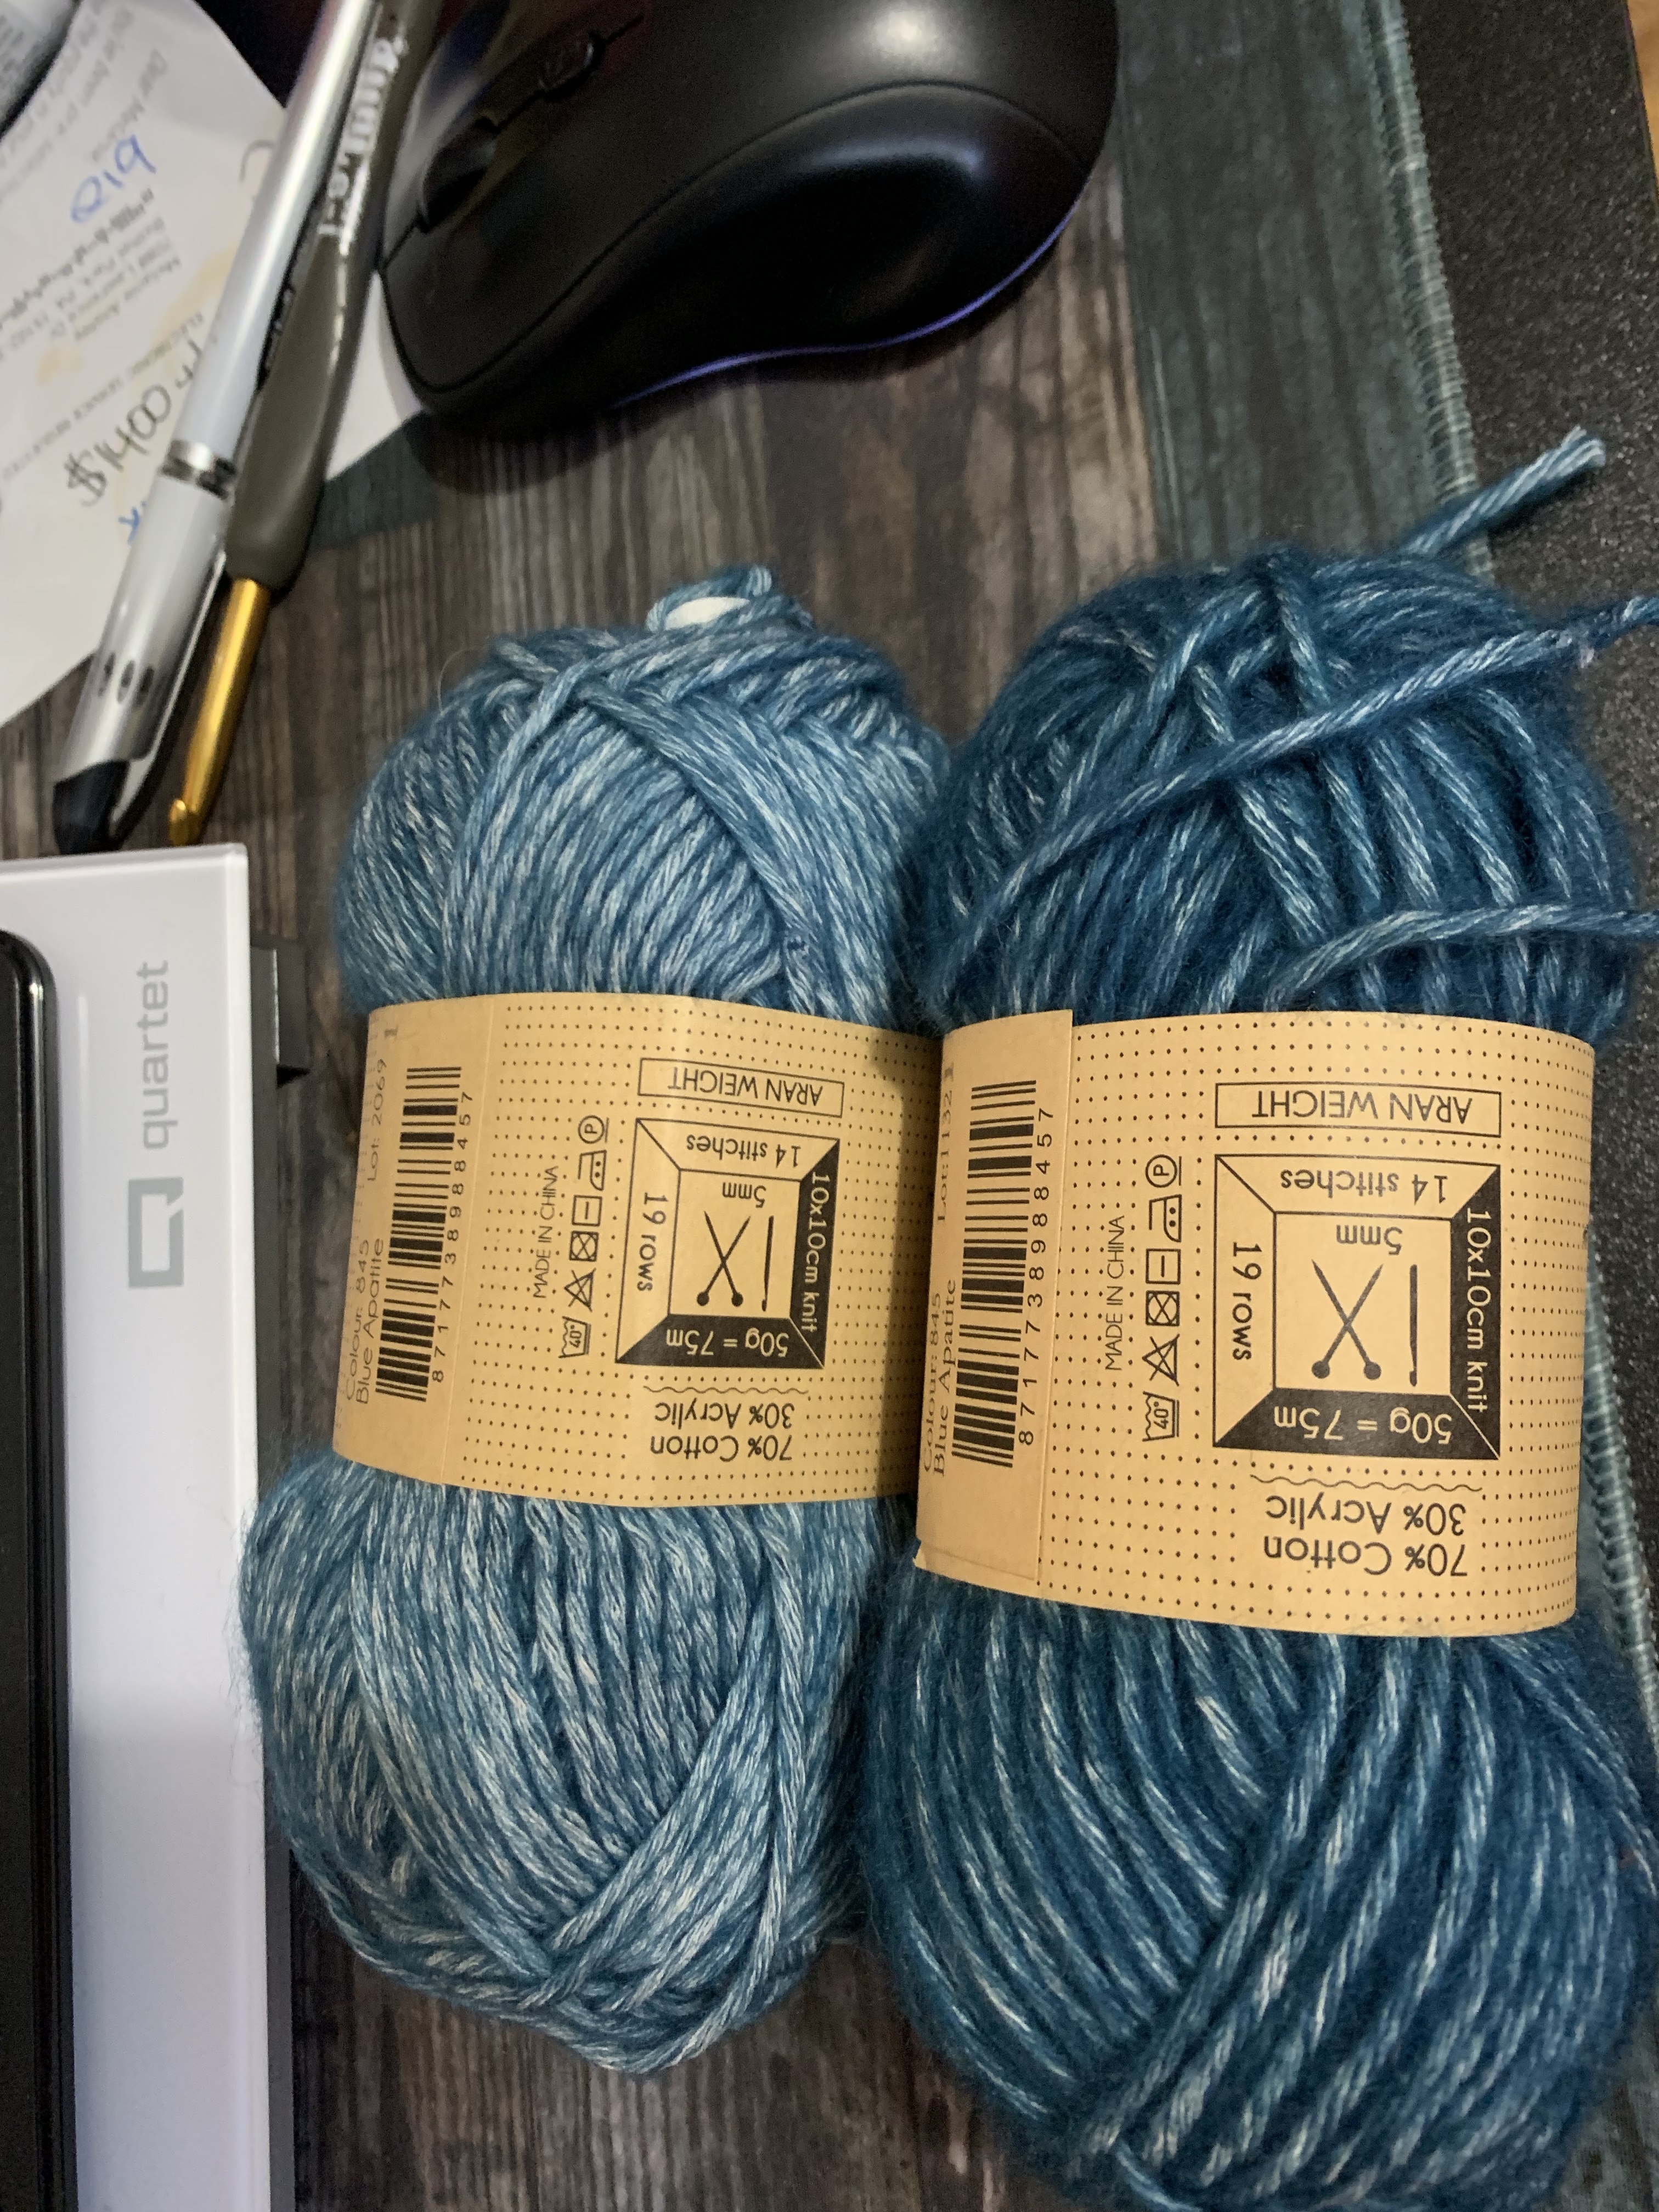
Be Careful when buying more yarn. Thankfully Sophie’s Universe has many color changes, so the difference in dye lot isn’t noticeable if you use that color in a different round. Just make sure when buying more yarn you but enough for those rounds.

I have to say, this book is the best pattern I have ever read. They have really idiot proofed this pattern with so much documentation and notes. And all that time that I was waiting for more yarn, I should have been weaving in ends. Don’t wait till the end to do that, because it’s no fun.

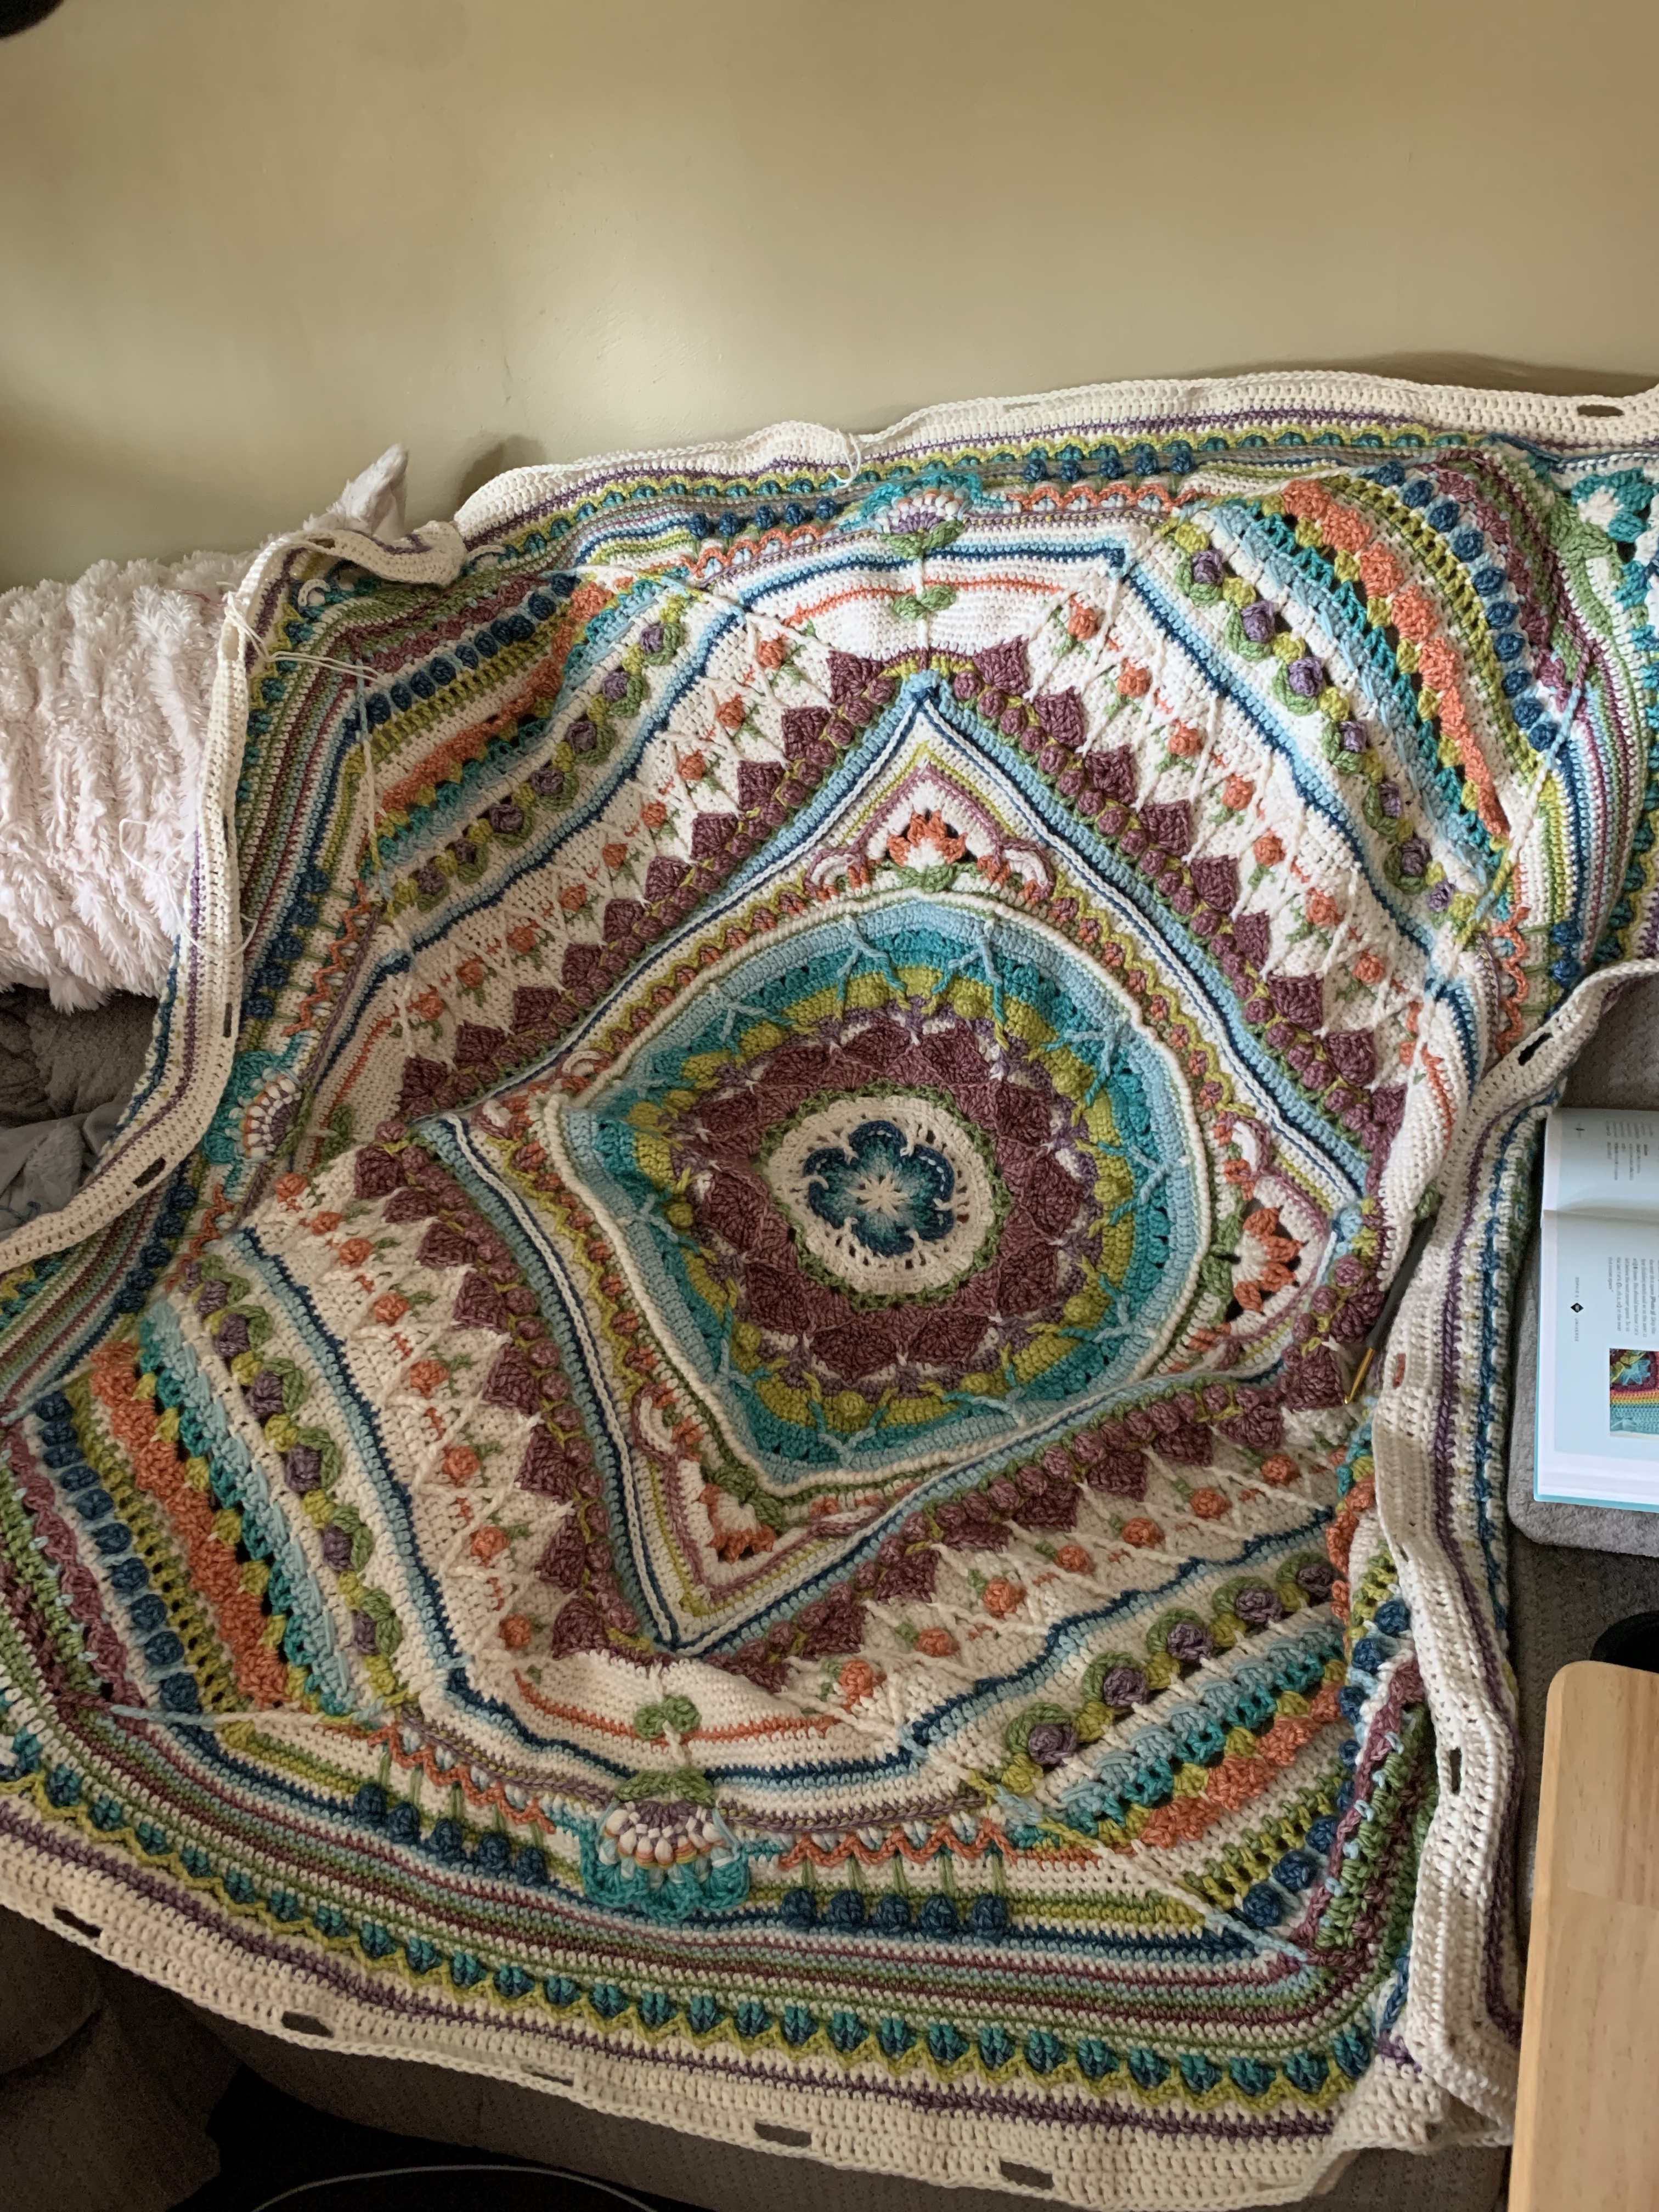
I also learned that this is a very difficult pic to block. I bought a few more packs of blocking mats for this blanket, but even 3 packs was too small. To block something this big I would have needed 4 packs of blocking mats. I also didn’t have enough space in the house for that so I used a spot in the garage, but even that spot wouldn’t have been big enough to stretch this out to it’s fullest size. I did it in sections for the most part. Speaking of which, the book does recommend when to block the blanket throughout the process, so I should have followed that suggestion to make it easier in the long run. I was too focused on getting the blanket done in time and rushed that step. Don’t rush, do it right.

So lessons learned for Sophie’s Universe:

  • Buy enough yarn in the same dye lot
  • Read all of the Notes in the book, they are really helpful.
  • Block when they tell you to block.
  • Weave in the ends every time you block, so you don’t have to do it all at the end.

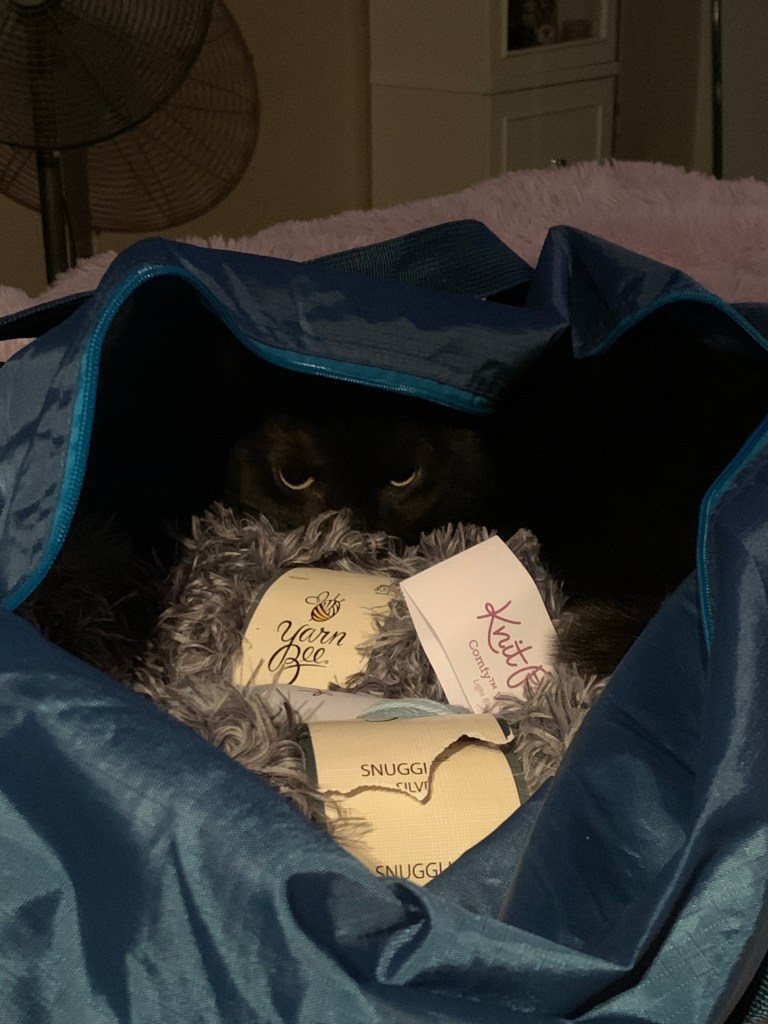
In the end I finished in time and just shipped it off yesterday. This took me about 5 months to make (late August to late December plus blocking into January). Good luck finding a gift box big enough, so instead I bought a Fabric Storage bin for it. The wedding is in two weeks and I really hope she enjoys it.

Baby Gifts

After finishing the Kichshaw Stroller Blanket pattern test, I continued to make additional baby gifts for my friend’s daughter, who is pregnant with her first child.

I had actually already completed a Spin Me Around blanket, before doing the stroller blanket. This pattern is free by Catherine Bligh. This is such a simple pattern that is very easy to pick up and just do mindlessly. For this blanket I used one ball of Lion Brand Mandala Baby in Diagon Alley colorway. I thought about extending it or putting a soft border on it, but I had to start the stroller blanket test and called it done.

Spin Me Around Blanket

After completing the stroller blanket I decided to make a teddy bear. I went back to my Edward’s Menagerie book by Kelly Lord and picked the Penelope the Bear pattern. I used up some stash yarn I had bought to make a teddy bear (Go Handmade Teddy and Go Handmade Couture), but it was a little difficult to crochet with so I added a base yarn (Lion Brand Comfy Cotton Blend) to make it easier to work with the fuzzy yarn. One other trick, I turned the crochet inside out for the bear, because it was fuzzier on the inside of the pieces. I just thought it made it look more like a teddy bear all soft and fuzzy.

This was the first time I used safety eyes and nose with one of the Edward’s Menagerie animals, but I wanted to make the face a little cuter, and I’m not great at make amigurumi faces. I also bought a pet collar bowtie, because I thought he needed a bowtie as well.

Penelope the Bear

Next I made a teddy bear hat and diaper cover, using the same yarn as the teddy bear. The Teddy Bear hat is a free pattern by Kristen McKay and the diaper cover was a free pattern by Jessica Cooper (although you could also pay for a pdf version of the pattern). I added a teddy bear tail to the diaper cover as well, using the same tail and Penelope the Bear. For the hat and diaper cover, I did not turn the crochet inside out, because I wanted the softest part against the babies skin, so you can see the base yarn more in these items.

At this point I really need to stop, because I could continue with these forever. I love making stuff for babies. I just hope the hat and diaper cover are big enough, especially the hat, it looks so small.

Kickshaw Stroller Blanket by Charles Voth

Kickshaw Stroller Blanket

I have been a member of the Life Long Crochet Facebook group for many years now. The group is run by Charles Voth and Rebecca Mattison, both designers. Last month there was a call for testers, to test Charles’ latest design, the Kickshaw Stroller Blanket.

I used Touch of Alpaca by Lion Brand Yarn. The yarn was soft, but gave a bit of a rough look to the stitches and the yarn split easily, which was a pain in the butt. It was almost like working with homespun yarn, which is also soft but a pain to crochet with.

I have been thinking about trying pattern testing for a while now. My biggest fear is just the time needed to test and the commitment. I’m slow at crochet and I’m usually pretty busy. The post for testing came in mid-May and the de date was June 15, but I figured that I can typically get a baby blanket done in two weeks, so I decided to try my first pattern testing experience.

The pattern has these loops, that look a bit like broomstick lace. It involves creating a lot of loose loops, so I used one of my circular knitting needles to hold the loops (the Tunisian hook was too short to hold them).

Partly I feel bad about testing the pattern, because there was nothing to correct, no issues with the pattern, everything was well documented and explained well. The only piece that gave me any confusion was the concept of creating all the loose loops, but after watching a video that Charles posted, I was able to visualize it and it was done exactly as described.

For a while there I was running behind schedule. The yarn took a week to arrive and I had family visiting Memorial Day weekend, so I didn’t really get started until the end of May. At a certain point I had to create a calendar, assigning sections per day so I could stay on schedule. But I did finish the blanket on time and was able to give my notes on time, so overall this was an easy and quick first pattern testing experience. And now I have a gift for my friend’s daughter, who is expecting her first baby.

Charming Tauntaun Blanket Wrap

Over three years ago, I had a New Year’s resolution to start this project and I had a follow up post with some progress. But once this monster got big, it mostly stayed in the project bag, because it was too heavy and hot to take out and work on. This winter I decided I was going to finally finish it, then as I was working on it I realized some of the yarns had been discontinued, so the fire was really on my butt to get this done. Here it is, 3 years and 3 months later, the giant Tauntaun blanket that I made for my husband.

My husband modeling his new Tauntaun blanket

This blanket was inspired by the Tauntaun sleeping bag. My original sketches had legs instead of a sack and I thought of lining it and adding a zipper, but in the end I stuck with simplicity. There is no pattern for this, I cobbled together the hood, the body, and horn as well as some modifications. The rest is pretty much free hand outside of the inspirations of the patterns. The body is all hdc, the arms are dc. This thing is heavy and warm.

The cats love this blanket. Any time I was working on it, they would lay on it.

The entire thing cost about $400 in suplies:

Yarn Bee Snuggle Up White, 7 skeins

Yarn Bee Snuggle Up Silver Fox, 18 skeins

Yarn Bee Snuggle Up Silver, 26 skeins

Knitpicks Clarity Comfy Worsted,12 skeins

Knitpicks Light Blue Comfy Worsted, 40 skeins

Safety Eyes

And as much as I was afraid of running out of yarn, I ended up with a ton left over.

George Update:

He’s still with us, although not integrated with the other cats. He really doesn’t like them.

With All My Heart Blanket

The big trend that I am seeing everywhere is the With All My Heart Blanket. I belong to a couple of Facebook Crochet Groups (The Crochet Addiction and For the Love of Crochet) and I keep seeing pictures of this blanket show up on my feed. In addition, I’m seeing people posting their WIP of this blanket. It’s really beautiful. I’d like to attempt those interlocking hearts some day, but at the moment my to do list is too long.

The Etsy shop, The HatandI, also includes hats, ear warmers, and bags with the interlocking hearts. I suspect lots of people will be getting this blanket for Valentine’s Day and weddings this year. Keep an eye out for this new trend of the season/year.

Project Graveyard – Stellar Patchwork Crochet Blanket

I found this Hufflepuff blanket pattern on Pinterest and I thought it would make a nice house warming gift for my co-worker and his fiance (both Hufflepuffs).  The pattern is labelled easy, and well it is easy in that it’s all single crochet (sc) stitch.  It also uses super bulky yarn, so I figured it would be quick AND easy.  But instead I found it to be confusing and frustrating.  This blanket is a royal pain in the ass.

While reading the instructions, I couldn’t for the life of me figure out how the color change was occurring between blocks.  I thought maybe the yarn was carried through or maybe it cut between blocks?  And that would really suck because I hate weaving in ends.  But this method just confused me.

I started this blanket several times; I just couldn’t figure it out until I found some online help on Ravelry.  I learned on there from other users that did the pattern that you need to keep eight balls of yarn going at the same time in order to change colors for each square.  I thought I had a pretty good system devised.  I balled all of my yarn and kept them in plastic Ziploc bags that were numbered (2 balls to a bag), so I could flip them over when I turned the pattern.  I saw other users used boxes to keep their yarn and other methods.  But overall, keeping that many balls of yarn going at once was a mess.

Project Graveyard

In the end, I think I’ll just pull this all out and make a zig-zag blanket instead.  It will be much easier.  But I’ll pick this blanket up a little later.  Maybe as a wedding gift?