Last summer while I was at the Pittsburgh Knit and Crochet Festival, my boss texted me a photo of some Crab Rangoon pillows that she thought her daughter wound love. I searched around a bit and found the pattern on Etsy, by Vandallorium. I also looked around for some other food inspired crochet and found the bao pillows pattern too by curiouspapaya. I also purchased one more pattern for Giant Kimbap, but I ended up not buying materials for this one and didn’t make it.

The Crab Rangoon pillows are ridiculously easy to make. The instructions are very easy to follow. My only issue, as always is gauge. My gauge came up a bit small, so I thought I could block it to size, but that didn’t work out too well. I used Yarn Bee True Colors yarn for the crab rangoons and duck sauce bowl. I bought these pillows to stuff my rangoons and duck sauce bowl. Since my Rangoon gauge was a little off, I ended up needing to open the pillows up and un-stuff them some. I added my tag to one of the rangoon pillows, I didn’t want to overdo the pillows with tags on them all.


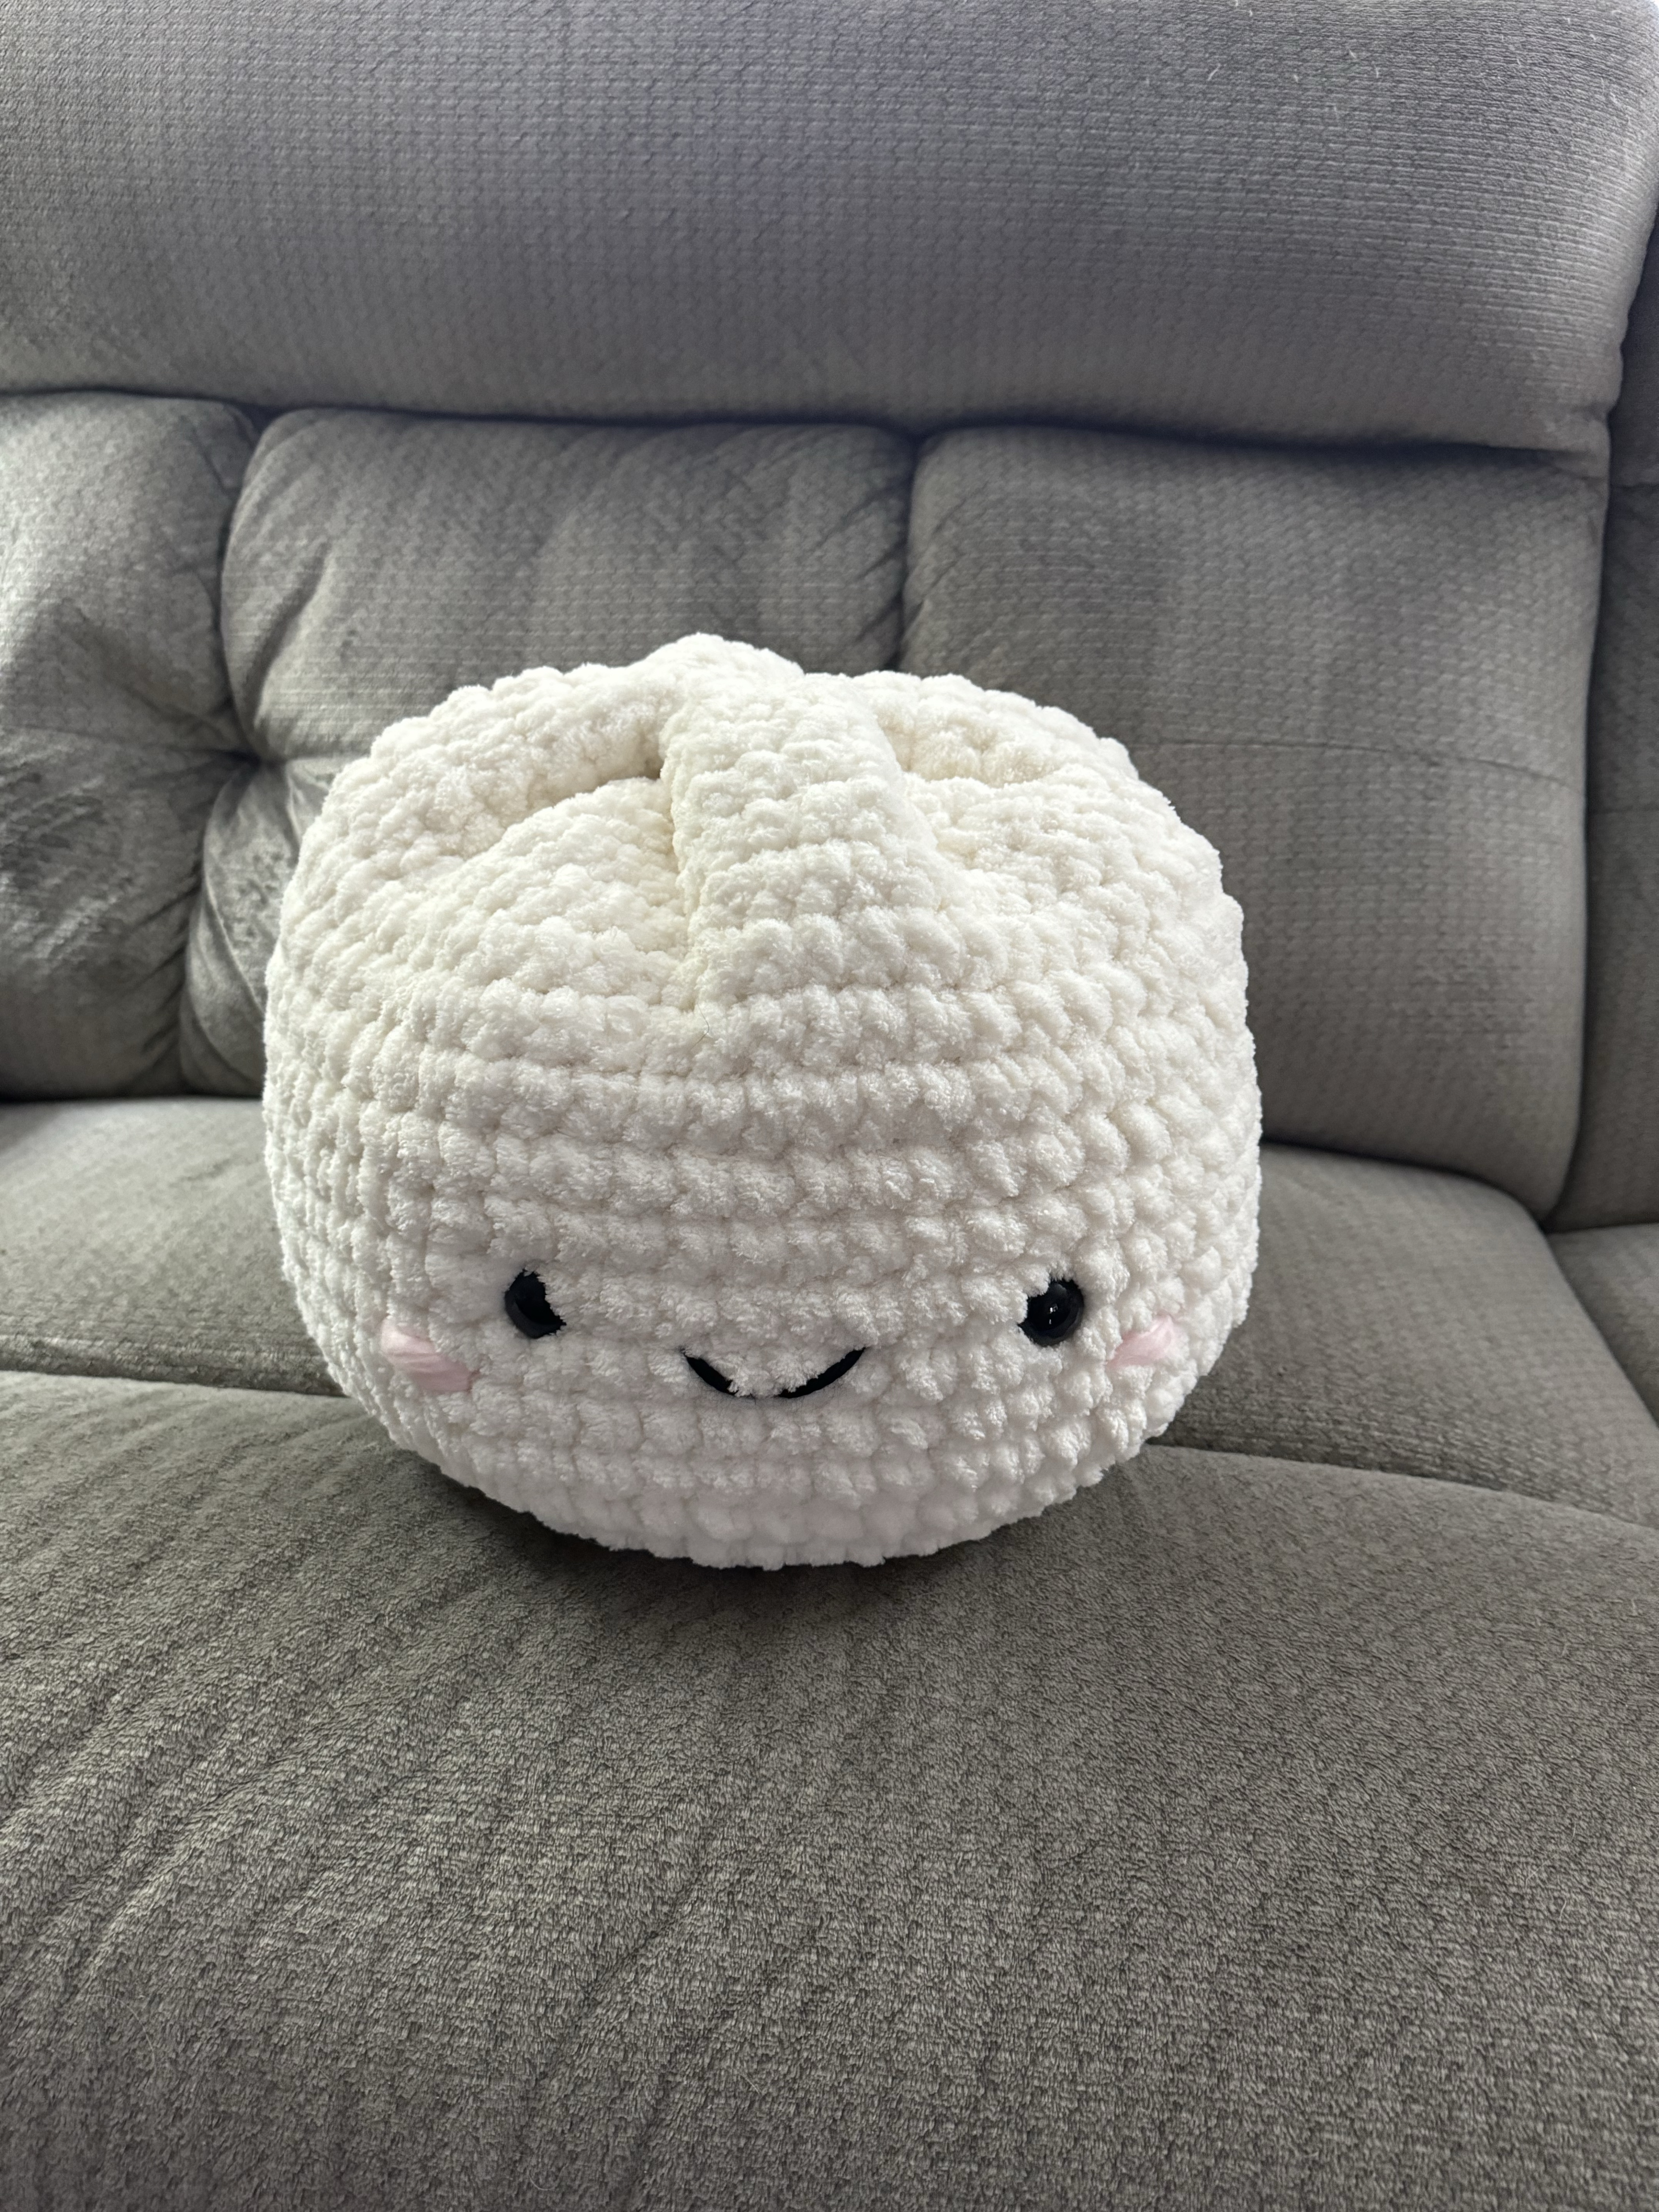
The giant bao is probably my favorite. In fact I purchased more materials to make another one for myself. For the Giant bao I used Yarn Bee Perfectly Plush yarn for the body and Yarn Bee Showstopper for the blush. The safety eyes came from Etsy. This one was also very easy to make. The pattern was well written and the creator also offers video help as well, but I didn’t need that. One tip, since this yarn was super plush and hard to see, I used stitch markers for where the increases happen. I’d count out to the increase locations and add markers before I crocheted the round. This helped me to keeps my counts accurate. and prevented me from continually frogging the rounds. Isn’t he cute?


This week I packed up the pillows and shipped them off. They arrived for my boss and her daughter on Valentine’s Day. Her daughter loved them. So glad they are being enjoyed.


You must be logged in to post a comment.